Tuesday, 31 July 2012

Tutorial; How to strip and/or repair knackered resin models.

Well, my next few days will be taken up with painting these two Grenadiers. Both were rescue jobs and I got to thinking, perhaps people might be interested in my methods of salvaging models.


First up, the Grenadier Watchmaster below is from the Grenadier Centaur kit. I decided I liked him as a stand alone sergeant as he looks like he is beckoning his forces forward. I began by stripping the model in a mix of dettol and water. Dettol is a range of products available in the UK. I believe the active ingredient is Chloroxylenol. I leave the models in the solution for no more than about 3-4hrs then go at them with a toothbrush. Now, you have reduced the model to the initial resin and in some places a small amount of the undercoat.

Next, you need to leave the model to fully dry, resin is somewhat porous and seems to take up the mixture you will find that it will take 24-36hrs to dry out. Now the issue is, that small, thin components often warp irreversibly. In the case of the Watchmaster, the finger guard on the chainsword warped and broke while scrubbing, and some of the rivets sheared off. You can see rivets replaced on the two lower gut-armour plates (.5mm styrene rod) and the finger guard replaced with a small piece of strip styrene.

Another example is the command squad Vox user shown below.
His rifle had warped and sagged. So carefully removing the rifle from the front-of-fist I then drilled a small (.5mm) hole into the fist. I then compared the warped gun to a seperate one and made a best-guess cut across the stock, then drilled a reciprocal hole and glued the gun into position with superglue and a short of brass rod.

Yet again, the commander, below had a sword, which of course warped awfully. So, removing his hand and the sword, I replaced the whole hand with a spare sword I took from a Commissar model (there is a one with a sword and pistol hand included in the pack) and turned the sword a little just for a bit of variety.


In terms of fixing up and cleaning resin models, stripped or not, here are two methods I use. The first can be seen on the grenadier to the left.

I cleaned up the model as usual, with files and a knife. I then primed the model and looked again, when primed, flaws often become more visible, so, by using the following tools (and thus method 2) a finer finish can be achieved;

 Fine grade steel wool;
 Fine grade wet and dry sandpaper;
Liquid green stuff (LGS), green stuff, superglue and nylon brush.

Using the sandpaper sharp edges can be easily removed. Forgeworld resin often has some sharp or rough edges which look unsightly when painted. A gentle rub with the sandpaper will take these away. For surfacing flaws, the steel wool, rolled into a ball can be rubbed all over flat surfaces to even them out. For deeper surface flaws, LGS followed by this steel wool treatment can do it.
The nylon brush is useful for rubbing away hanging particles or dusting off the model. An example of LGS and steel wool treatment is shown below.


As you can see, where the green matter has remained was obviously a surfacing flaw, as the steel wool has smoothed out its surface and the surrounding area. For any Krieg collectors the following areas tend to have flaws;
Helmet rims, jacket cuffs, coat turn ups, breathing apparatus and leg wrappings.

Hope that is of some help.

Am going to start painting the two grenadiers this afternoon - I have worked out that according to the IAvol.5 a squad of grenadiers can consist of one Watchmaster, a heavy flamer team and two meltaguns. I already have the two salvaged (Watchmaster and meltagunner) so I might perhaps buy the heavy flamer team and other special weapons team on Friday. The heavy stubber from the kit will be kept for the ten man squad of Grenadiers.

Wednesday, 25 July 2012

Painted Krieg Engineers

Hey all,

7 painted Engineers today. Coming up soon, the Hades. Let me know what y'all think!


Saturday, 21 July 2012

Finished Scratchbuilt Hydra AA Gun

Well, this is my second attempt at a Hydra Emplacement Project (HEP-B) for short.

This is how it started;

A scratchbuilt 'turret' system with a curve that I'm very happy with if I'm honest. It is set onto a plate which rotates with the gun - this plate then sits snugly on Rictus' emplacement piece (Still for sale - check here - http://recalcitrantdaze.blogspot.co.uk/2012/06/gun-emplacement-mk-7.html if interested in purchasing one). Two sets of two guns which I think are autocannons but I'm not sure are magnetised to the central turret. The moulds in the box are the turret, the gun housing blocks (Left and right). I have to make the barrels each time I were to reproduce the model. I made the barrels with the idea of simple functionality much like WWII pieces.

 Robot just want a cuddle...
 ICE FISHING!
 Guns can elevate from ~-10degrees to about 80degrees. Was reading about German flak guns 88's) and they had minus elevations for use against tanks. Not really applicable here but it's possible...
 Another thing I found, was an ice cube tray with an excellent shape I thought for Dragons' teeth. I think it has a good shape and size for 40k tank barriers. These ones were made with resin left overs (Always mix too much) with some fine (dry!) sand in, as you can see the sand has sunk to the bottom of the ice cube tray. One benefit of adding the sand was that apart from adding extra volume to the resin, as an aggregate it also forces the resin to break in a more natural disordered way than the pure resin would when distressed. This means I get quite nice battle damage to it. Trying to decide any extra detailing I could add. Was thinking about a plate on top with some icon or other and a large metal loop (for craning them into place).

Let me know what you think!

Steve

Saturday, 14 July 2012

Finished squad, Scratchbuilt Hydra Turret

Hey all, another update. Pics aren't great as the daylight has just gone, but be aware the krieg I'm showing here are almost identical to the ones shown below. But i've now painted the full squad at ease.


 Force as is; note the rough riders still need a few bits doing.
Been working on this recently, a scratchbuilt Hydra turret to go with the emplacement sent to me by Rictus; http://recalcitrantdaze.blogspot.co.uk/2012/06/gun-emplacement-mk-7.html A definite worth purchase, the kit is huge. I've not done the guns yet as I've run out of material, but I've placed a 4d order of plastics so the guns will be following along shortly. 


 Since moving house, my new work area. Also use it for Geochem research but not atm.


And a picture of my rabbit, because.
Bases on the last 4 kriegers not done, as I've said before I do them in batches of 8 or more.

Coming up next week, hopefully finish the Hydra turret and guns, retrofit a Leman Russ to Krieg standard and I may make a start on my engineers.

Tatty bye.

Thursday, 5 July 2012

Painted Krieg Troops B + Valkyrie Base

Hey everyone,

I have painted another 6 krieg troopers since my last update. I have also painted a Valkyrie flying base.


 Group Shot so far.
Note deceased Krieger, craters and barbed wire.

Hope you like!

I might either paint the Valkyrie now, or do something else, it depends though.

Tuesday, 19 June 2012

Krieg Troopers A

Evening all.

Well, I have the internet again after a month of waiting and have safely moved house - Aside from fracturing my leg that is.

But I have not been idle in the Spring Offensive, more apt now I might suggest, being around a year old, this blog returns us to Spring 2012 and with that, some painted troopers...


Not vastly happy with pic quality, some of the layering has disappeared. Something to work on perhaps, camera settings. A few bits I think I'll touch up, mainly gold on helms needs a bit of work. The Bases will be painted later on in a group of 10 or so, as i will be using the airbrush to paint the bases.

Let me know what you think.

Steve

Friday, 4 May 2012

Stay Tuned!

Well, I've done a few reviews lately. I'm currently in the process of moving house, to a place where I will have a dedicated hobby room. A room in which I've literally had to resculpt a wall (think crumbling plasterwork). I'm looking forward to getting all my hobby stuff sorted.

I've been buying stuff to create a proper hobby room; I will review them if they are of any use to anyone, so please let me know;


  1. Miniaturicum paint racks -   http://www.miniaturicum.de/index.php?infoBox=3&cPath=723
  2. WaughGamestore - Basing materials.
  3. P3 paint range.
  4. Stewart Lee gig on Friday 11th (not really modelling related but you know...).
  5. 'Eavy Metal guidebook, 'Eavy metal Brush Set.

Let me know... 

Steve

Monday, 16 April 2012

Review: How to paint Citadel Miniatures DVD.

The first line was "Remove the models from the box". I wasn't amazed straight off I must admit. The filming is set on a box of plastic Space Marines.

The first stage is a simple commentary on using plastic glue on plastic miniatures "add a little glue to each foot, and press to the base". There is a description on building finecast models. This is quite good in the sense that anyone who's been a GW fan but never bought resin (Forgeworld et al) will get some information.  in the construction and preperation of resin. I must say that in every tool used in the in the video is prefixed by "Citadel". "Citadel flash brush", "Citadel flash scraper", "Citadel Emery boards" etc.

Base paints: "If there are areas you don't want to paint a certain colour, don't paint on to them". Well, glory be. Must say, there's only so much you can say about a basecoat, and not unlike any tutorial, it is still explained in detail, when all the video is actually showing is paint being applied onto the model over the undercoat.

Washing: Simply shown as a consistent brushing of the shade paints onto the model. Explanation of what is called, section washing - allow one area of a wash to dry, before applying to another. This is good as it simply explains that, for one wash to touch another whilst wet, they will mix together and mess up.

Drybrushing: Standard, can be explained in words without the need of a dvd. Though some examples are shown which is good.

Glazing: Good, it's described in difference to washing or layering so you understand the difference between glazing and washing. Happy with this.

New technique for the application of decals I suppose, but in actuality it's something we've all done, just in a different fashion. Though they suggest using glaze medium (Lahmian medium) to dull down the shine to a matt finish, which is something I've not done before (though I've used matt varnish prior to dullcoting).

Basing and texture paints: Specifically designed for basing it would appear. Not sure I would use them for that, I'd maybe use them for mudding up tank tracks though I guess.

I am not going to slag this off based on the notion that GW have been foresighted in making this dvd and not assuming everyone who watches it, has a priori knowledge. What I will say is that in terms of the title, it's quite apt "How to paint Citadel Miniatures". In actuality, it's a case of how the colours produced in the Gw paint range revamp gel together to paint the models we know and love. Having a hierarchy of paints has done this, and  it is in a way, taking any artistic license away from the series. I am not a GW fanboy, nor am a I naysayer, my personal reaction to this has been to change the paint range I use - though I will still be using GW paints for some things as I understand some paints have simply been renamed and not changed.

In defence of the dvd, I am not a game player, never have actually played any GW games, but I love the models, the background and most of what GW produces model wise, so this dvd is fantastic for people who are players, who want to produce an army to play with and I acknowledge and applaud this. In effect, it is what it says it is, and if you had no experience in painting models of any range, this is fantastic, and many of the techniques and ideals are applied throughout my own painting style.

A very basic standard dvd and one I'd suggest purchasing if you are new to the hobby.
If you are a beginner, buy it. If you aren't, look at the Miniature Mentor series, or the Jennifer Haley, Natalya Melnik or Jeremie Bonamant Teboul DVDs. I personally very much like the Natalya Melnik and Miniature Mentor ones as I feel they compliment my style, so learning from such amazing artists work with my own progression.

Hope that is of some help.

Steve

Tuesday, 10 April 2012

Review: IA Model Masterclass Vol.2

Well, possibly the thing I've waited most for FW to produce since Vol.1 and this book does not disappoint.


Thanks to Maelstrom I managed to pick up a copy at the FW Open Day (FWOD) on 1st April. And thanks to that stroke of good fortune I managed to get mine signed by Simon Egan, Mark Bedford and Phil Stutchinkas (once he'd finished his lunch).
I must admit I was fairly sycophantic - in a good way - I was like "the first book was awesome, so glad you made it..." and "your Death Korps Artillery Emplacement is the best thing ever!"...

So, it's going to be very difficult to review this without comparing it to the first installment, however, there are a few things in the new book not covered in the first one.

To start with, as the first one, the whole book of 140 pages is full colour and glossy with lots of lovely big images. There are walkthroughs on whole models such as an Imperial and Chaos Reaver Titan, the Imperial One is the one which is similar to the one I have a photo of in the previous post painted by Phil Stutchinkas, he gives full in depth descriptions of how to attain the shiny plate armour and the weathering around the feet. Even better than this, on page 15 and 16 there is a lovely guide on how he created the knee plate heraldry, how it was weathered in and some technical details on creating a sized up transfer sheet. He also shows how lettering was weathered in.

In the first book it was mainly Imperial Guard Armour focused on, in this one there is a breadth of different faction types including Land Raiders, Eldar Titan, Thunderbolt Diorama, Titans, Chaos and Renegades. The bonus here is that different focuses are made, where Imperial Guard weathering looks great, there are different techniques shown for Eldar.

There is a guide to the Balmaeus Ice Mine gaming board, shown first at GD2011 and on show at FWOD, both construction and painting. The Raid on Kastorel Novem board is also shown, how it was built and painted.

I've been a bit careful showing off pages from the book (don't want to infringe). I've shown this one because it displays one of the best things about the book - the small blocks of tips on how to do small things, such as iconography in the example above, though there are others, weathering and transfers and small details on one of the best bits in the book; the Thunderbolt Diorama.

There is a small 2-3 page section on how to use weathering powders, the FW ones are used but obviously these also apply to MIG pigments or whatever you choose to use. This is handy as it is not applied contextually to a certain model and can be used on almost anything you choose.

New techniques shown:

Enamelling - marbling of a blue armour. Applicable to any colour.
Metallic banding - this is a nice one, used on metals especially, colour variations etc making large metallic areas more interesting.
Heat bloom - was shown in previous book, but, in more depth here.
Colour mottling/glazing - this is quite interesting, and very handy on large plates with large FW models, brass scorpion and titans for example.
Detailing of a model - similar to scale modelling, using brass rod and plate to extra detail a thunderbolt, quite interesting.
Using FW weathering powders - good stuff but admittedly fairly standard. I prefer the FAQ Dvd produced by MIG Jimenez.

I would say, that the techniques used in the book are not really for the beginner, and without an airbrush or many of the materials in the book, there's little in there for you.

All in all, a fantastic book, at £26 it's worth it, though I'd certainly advise buying the first if you don't already have it. Admittedly this isn't as ground-breaking as the first one, which is unsurprising but it certainly follows up the series admirably. Bring on the next one FW!


In other news, congratulations to the Sun newspaper for a fantastic headline today, regarding Abu Hamza "Sling the Hook Today!" hah.

Steve

Wednesday, 4 April 2012

Forgeworld Open Day 2012

Hi there,

I was in attendance at the FW Open Day (FWOD) on Sunday 1st April. Along with Rictus and Maelstrom from http://recalcitrantdaze.blogspot.co.uk/  and  http://maelstrom-therisingsign.blogspot.co.uk/ respectively. I knew full well that Rictus would take plenty of photos of the new stuff and given his better memory than mine he'd also remember some of what was said to us at the seminar. So yes, head to his blog for all of that stuff.

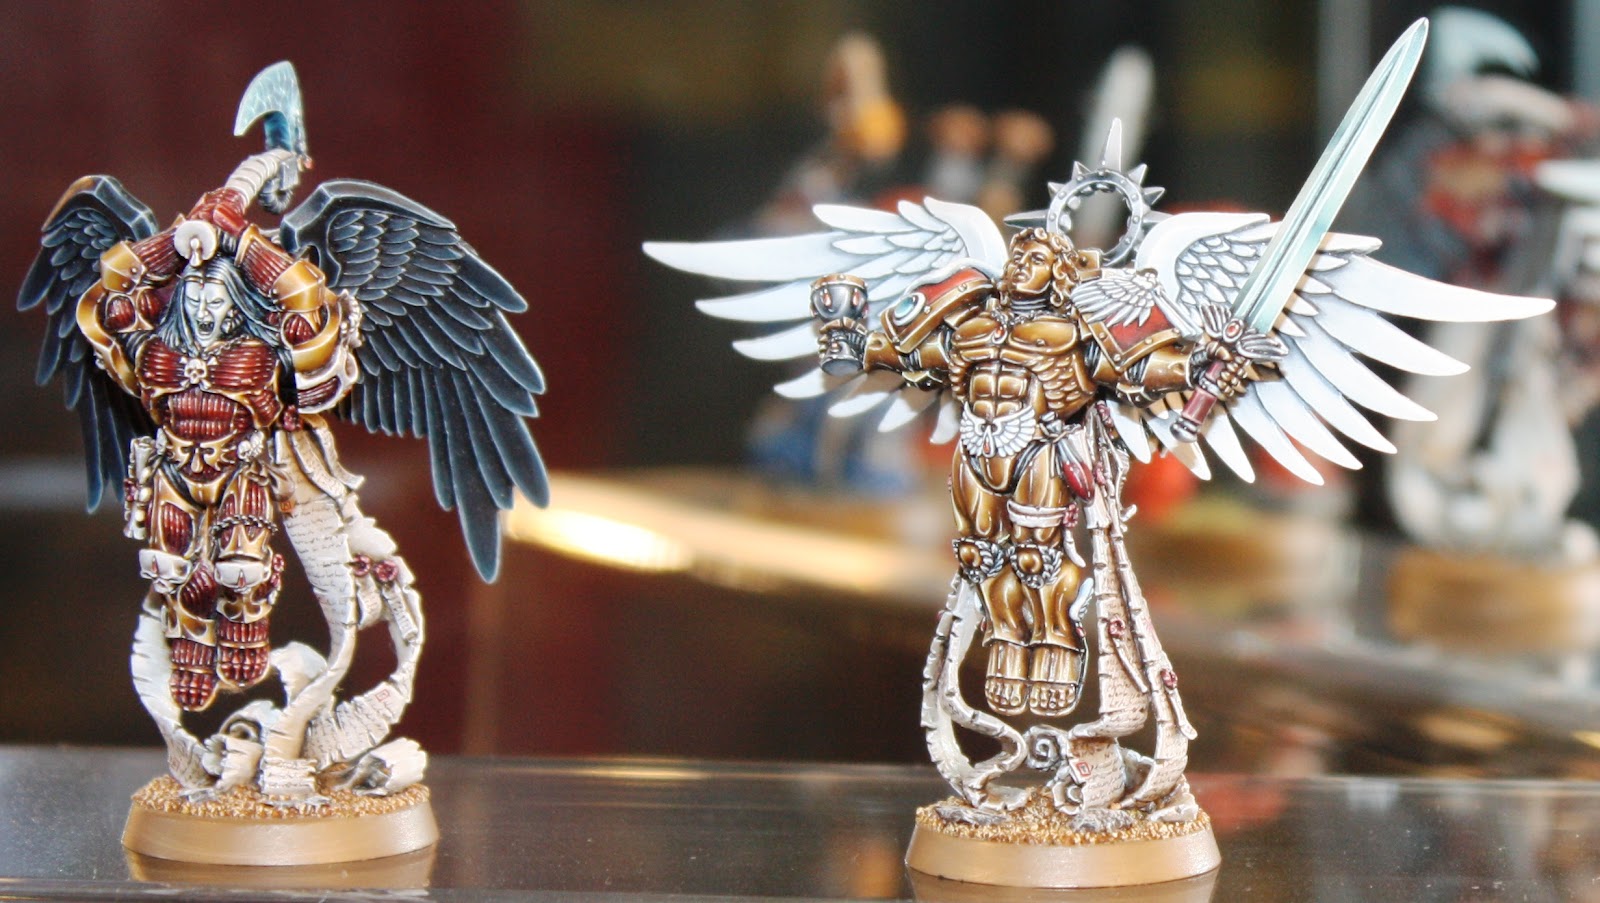
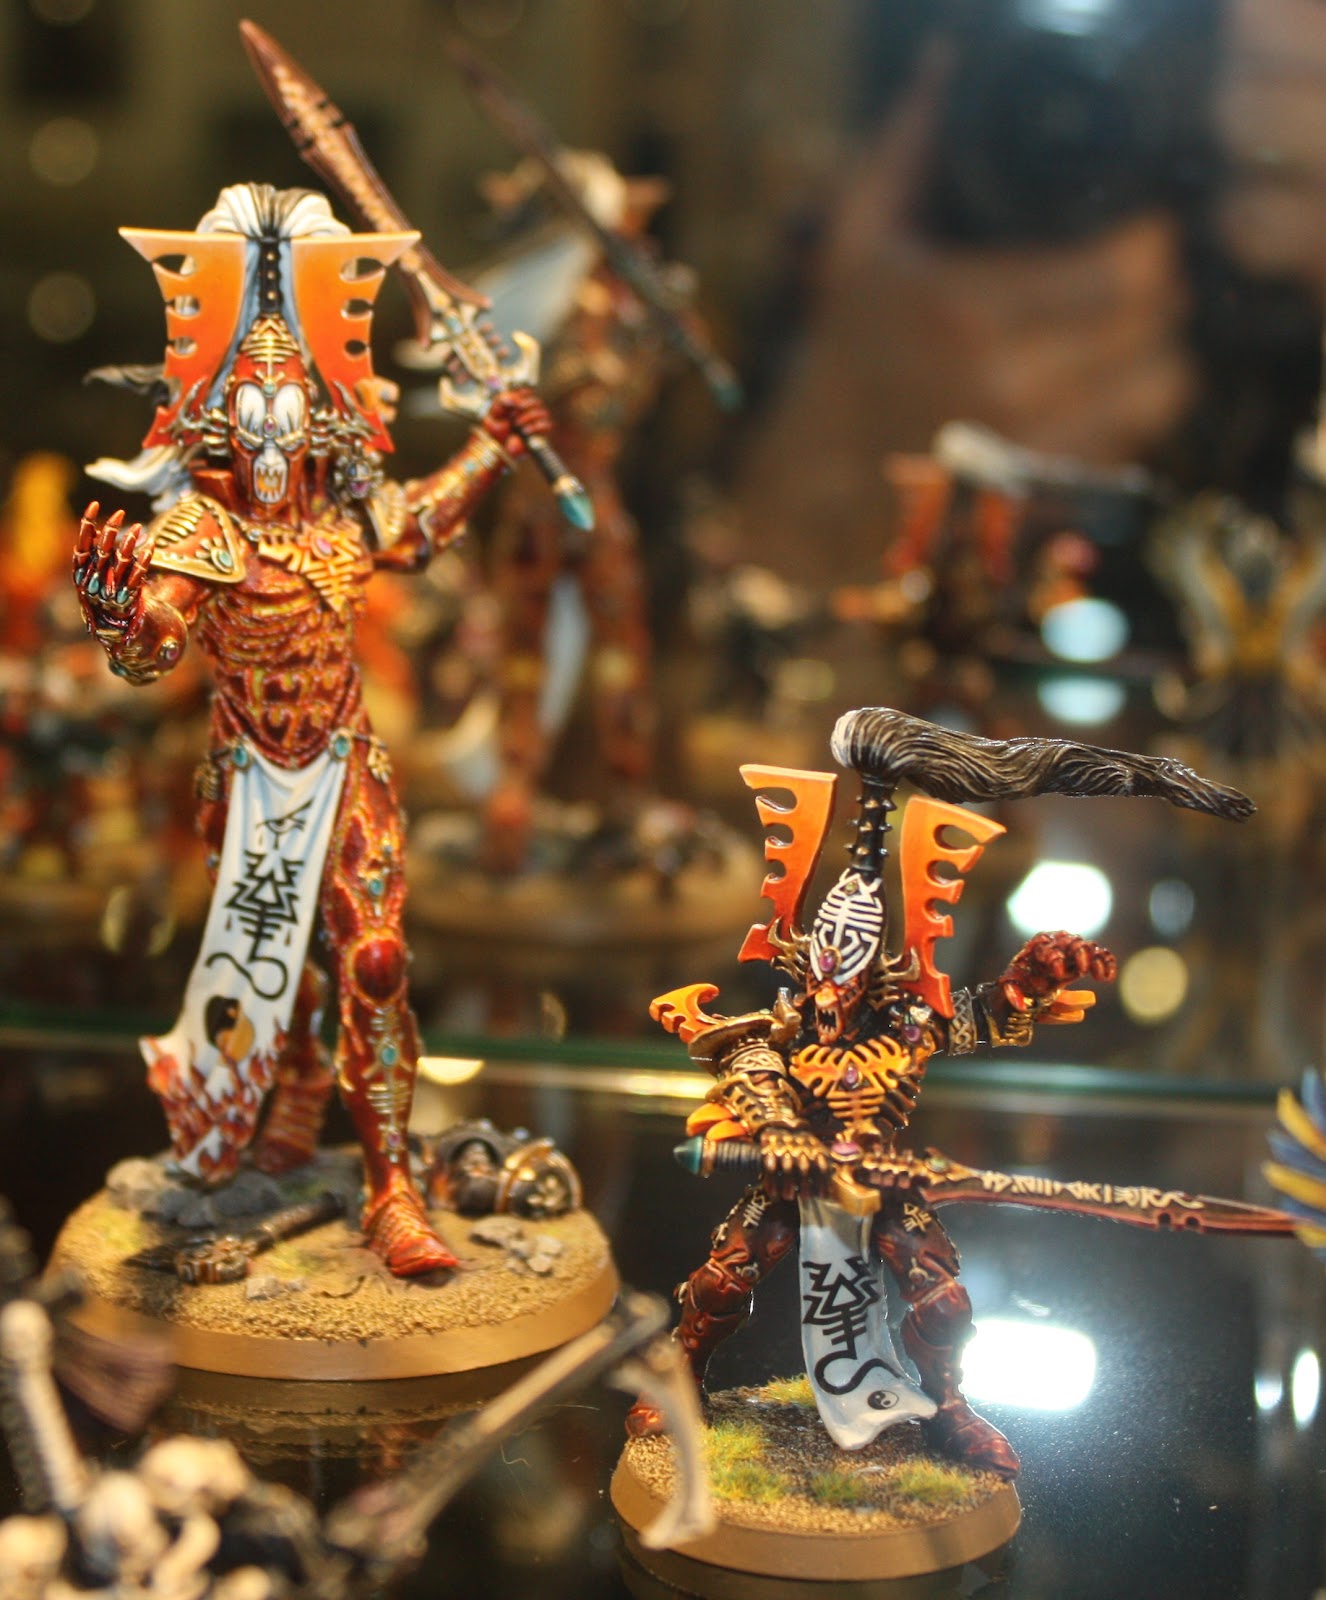
I decided to take a load of snaps of things I really liked the look of from the cabinets in the showcase room.

I adore the Sanguinor model.


 Note the princeps and crew for scale on the beastly titan...


 Amazing, from the IA Model Masterclass V.1. Favourite thing in the book, Phil Stutchinkas' trench with cannon and trojan model. Amazing!


These are just the things that took my eye...

On another note I have a few things listed on eBay. Take a look if you're interested. There's some models up there and more to come so keep checking. http://www.ebay.co.uk/sch/sc-steve/m.html?_nkw=&_armrs=1&_from=&_ipg=&_trksid=p3686

Happy Huntin'

Steve